This instructions will show you how to install the multi color ambient light for 10th generation Honda Accord.
Product link: 64 Colors Ambient Light & Foot Lamp for 10th Generation Honda Accord
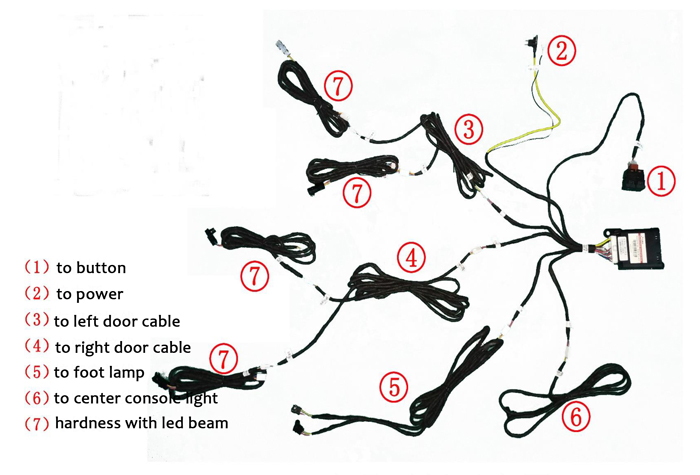
Components come with the product package
Door Lights Installation Instructions
Note: the door lights for each door is different, there are mark on each door lights, FR means front right door light, FL means front left door light, BR means back right door light, BL means back left door light.
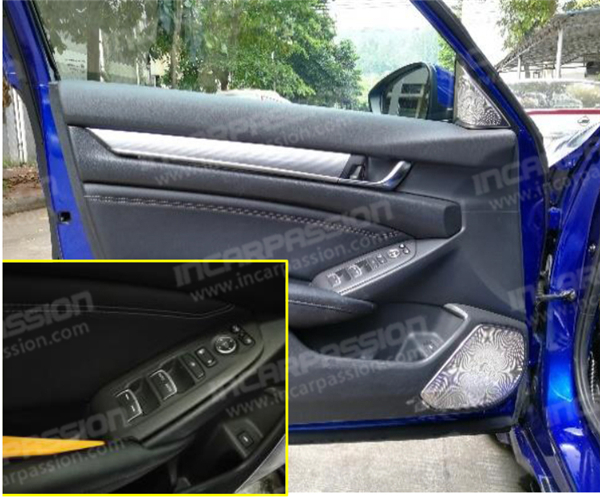
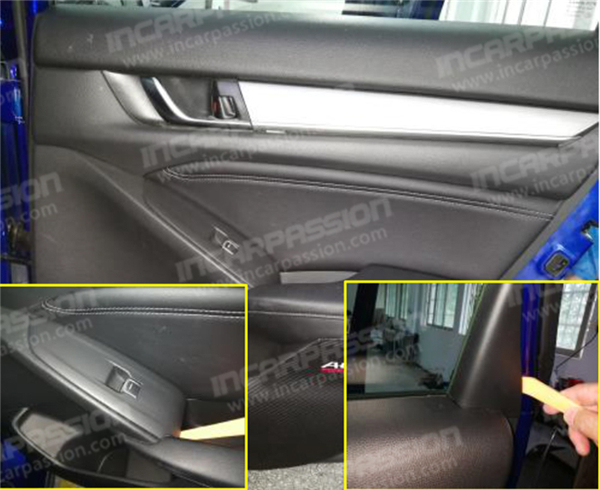
1, Pry up FL door windows controlling button panel, remove the screws and take out door panel
2, Remove the 4 screws fixing the decoration strip, use slot screw driver to push out the buckle then take out the decoration strip
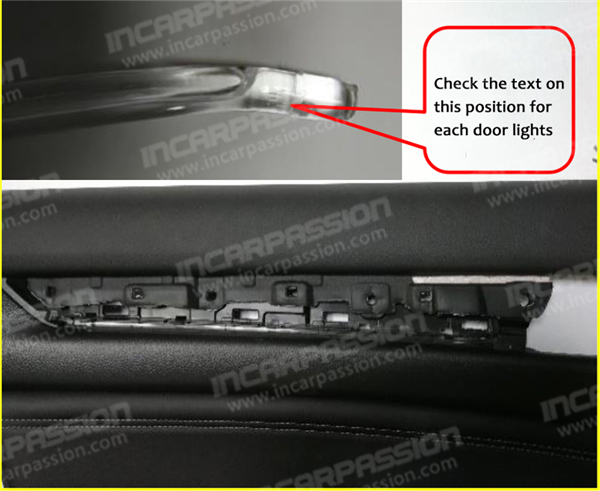
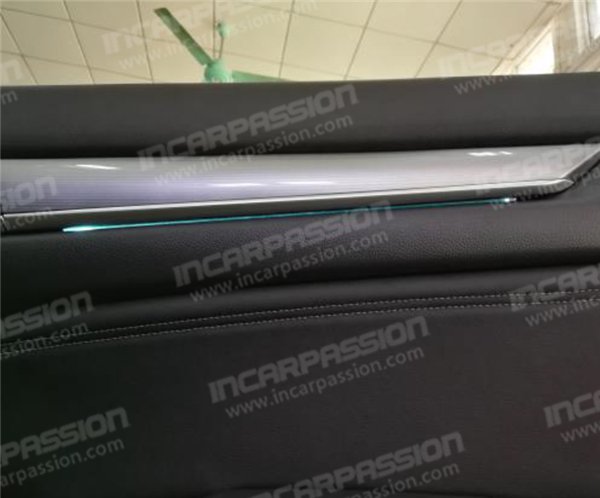
3, Install the front left (FL) lights on the door panel original position
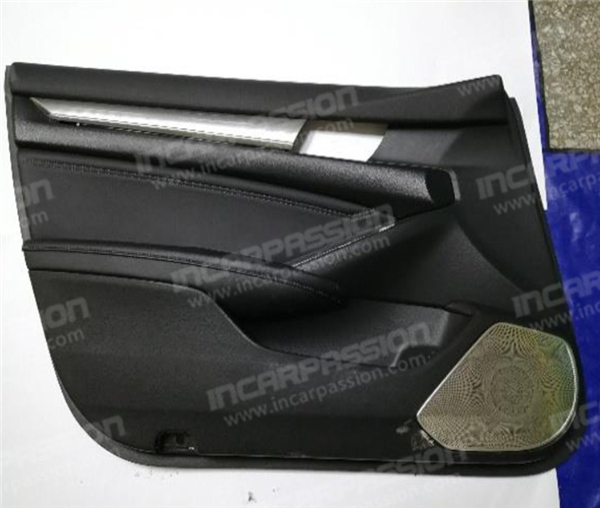
4, Install decoration strip back to door panel, fix it with the 4pcs screws. FR(front right) door lights installation way same as FL door.
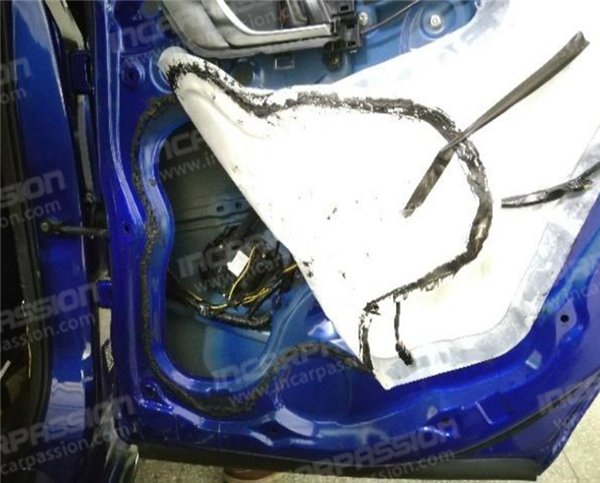
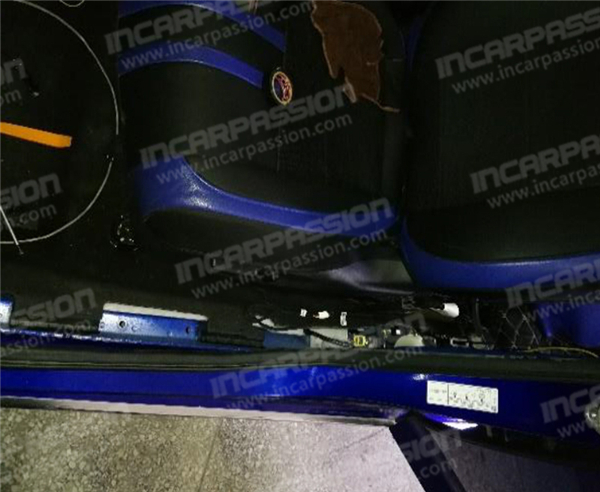
5. Pry up the windows control button panel of BR, remove the screws, take out the triangle frame then remove the door panel.
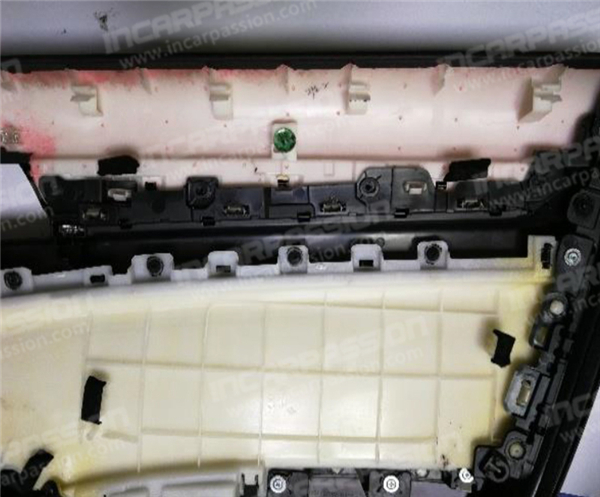
6, Remove the 4 screws fixing the decoration strip, use slot screw driver to push out the buckle then take out the decoration strip
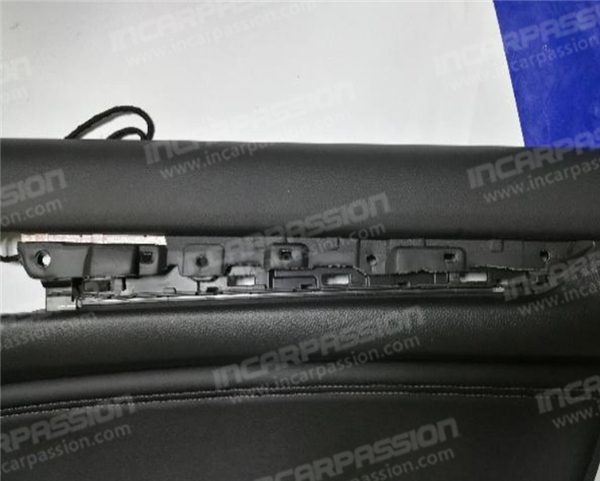
7, Install the back right(BR) light on the door panel original position
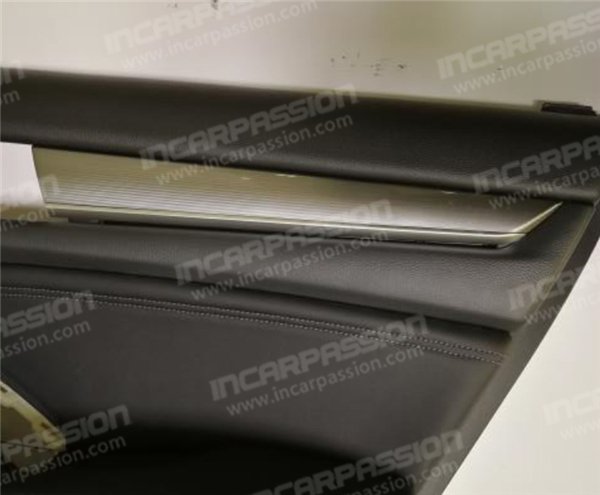
8, Install decoration strip back to door panel, fix it with the 4pcs screws. BL(back left) door light installation way same as BR door.
Cable Connection
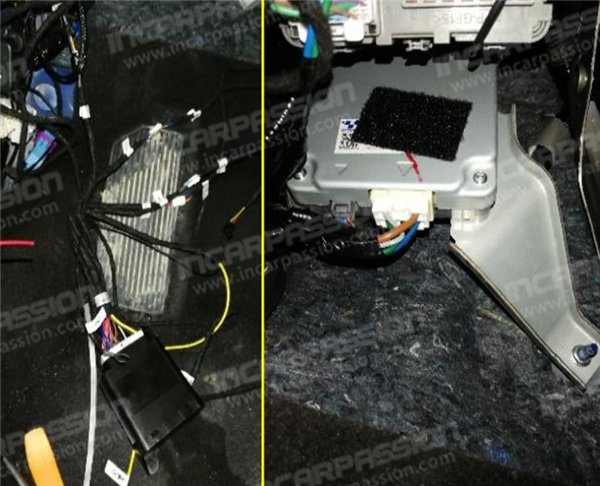
1, Control box to to left driver side, use double side tape to fix it upon original control box
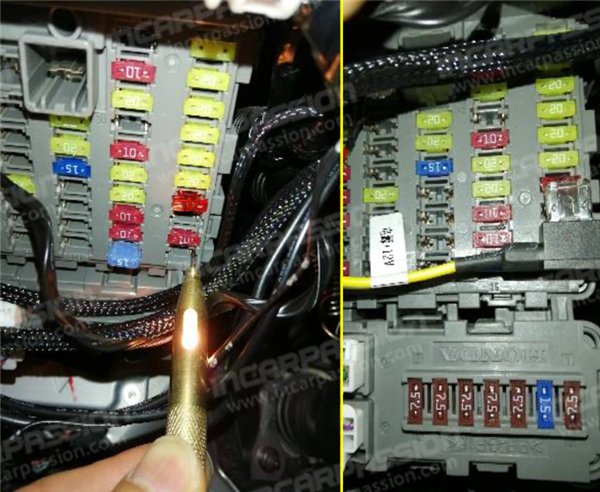
2, 12V power cable “+” connects to fuse box, right bottom empty PIN position(ACC)
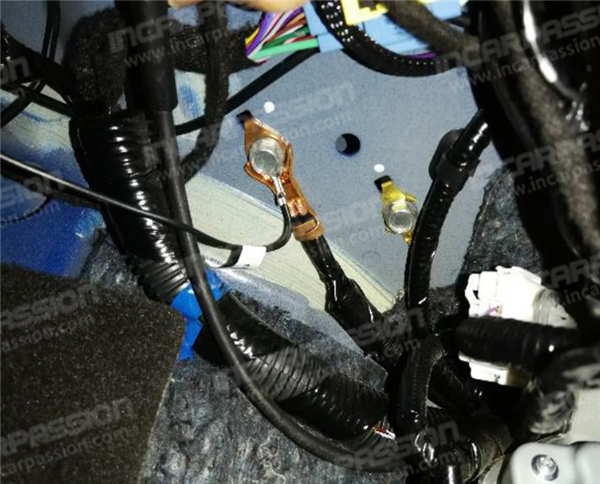
3, GND connects to original GND cable
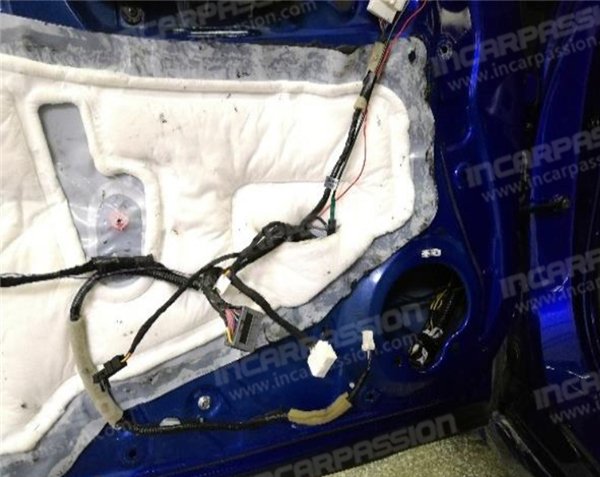
4, Ambient light hardness with led beam go through the flexible tube to position under A pillar, FR door do it same way as this
5, Ambient light hardness with led beam go through the flexible tube to position under B pillar, BR door do it same way as this.
6, Extend cable from driver side to right side position under the A pillar and B pillar, then connect the front and back door panel cable
7, Extend cable from driver side to left side position under the A pillar and B pillar, then connect the front and back door panel cable

8, Connect the foot lamp ambient light cable and center dashboard ambient light cable to front passenger side near the blower
Center Dashboard Ambient Light Installation Instructions
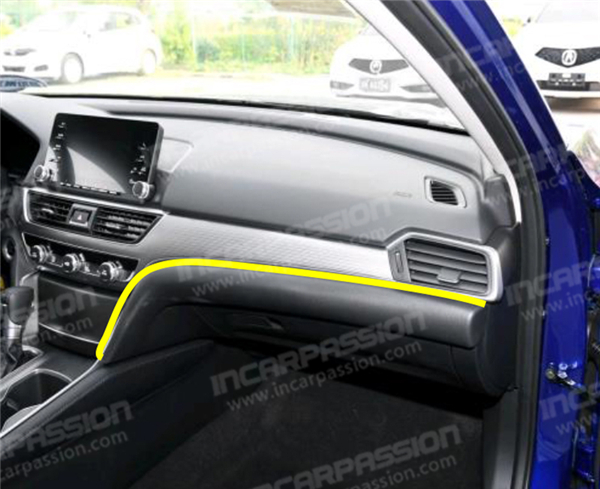
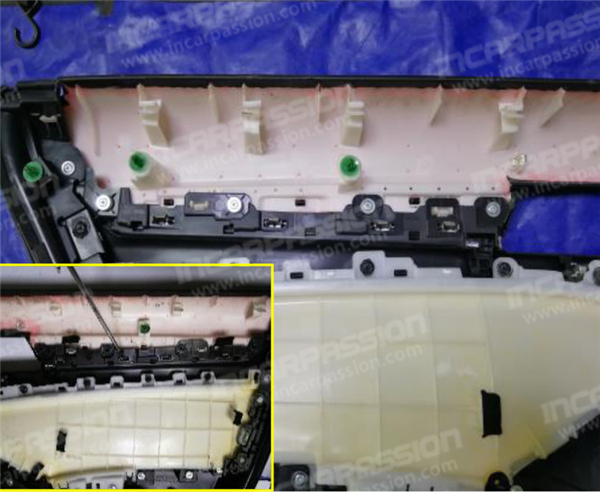
1, Remove the right side cover and air conditioner vent, then an take out the black plastic panel
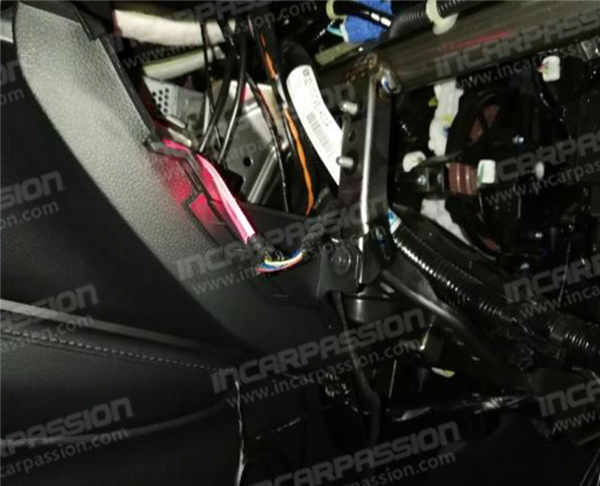
2, Remove the glove box, light strip go through center console armrest box to glove box left side, after connecting the led beam, fix it with glue
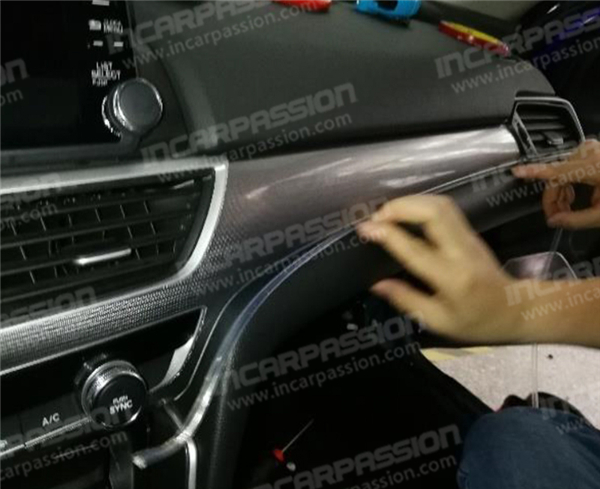
3, Put the led strip in the original slot position then install back plastic cover
Foot Lamp and Button Installation Instructions
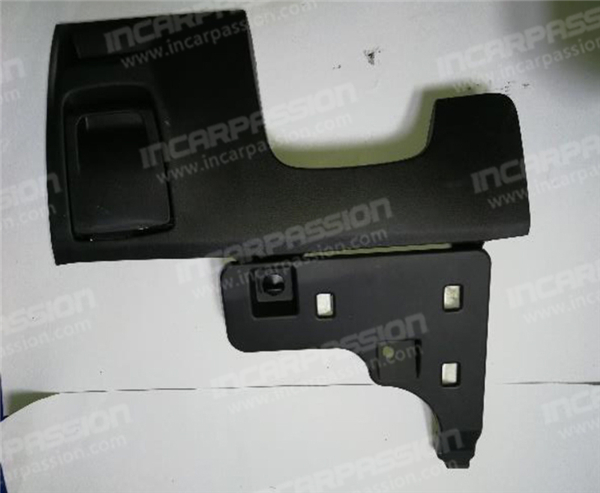
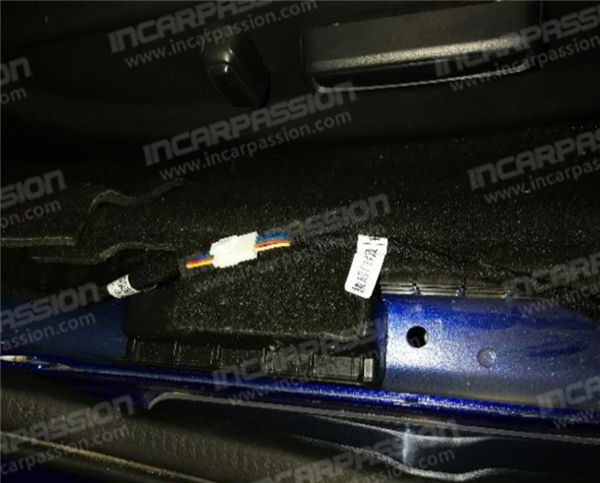
1, Remove the baffle under the steering wheel.
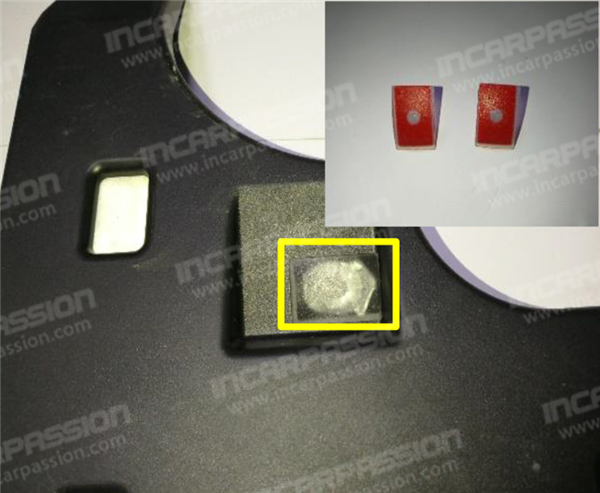
2, Fix the foot lamp at position as the picture show (right side foot lamp installation way same as left side)
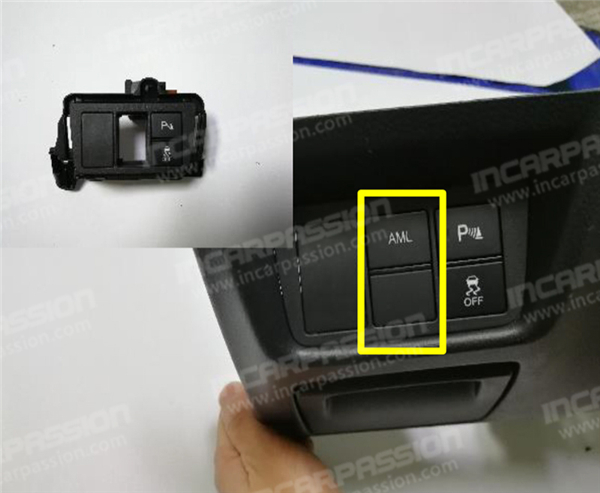
3, Remove the original empty button, install our “AML” ambient light color control button
Testing and Recover
Connect all the cable to check if all lights are working, and use “AML” control button to test if the light color can be adjusted, after testing is good, recover everything.
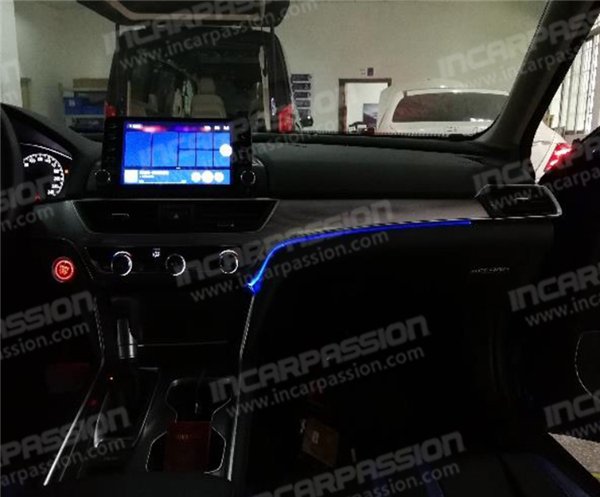
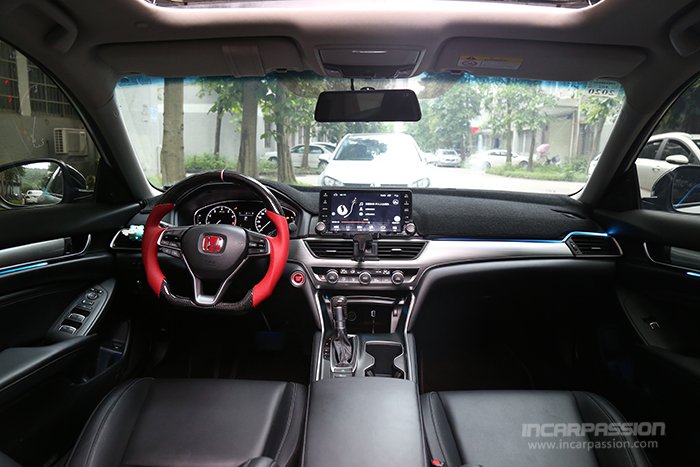
Center dashboard ambient light installation effect
Door ambient light installation effect

Foot lamp installation effect
 Audi
Audi BMW
BMW Mercedes Benz
 BYD
BYD BAIC MOTOR
 Denza
Denza Ford
Ford Geely/ZEEKR
 Honda
Honda Hyundai Kia
 Jaguar
 Jetour
 Jeep
Jeep Lamborghini
 Land Rover
 Lexus
Lexus Li Auto
 Mazda
Mazda Nissan
 Porsche
 Tesla
Tesla Toyota
 Volkswagen
 Volvo
Volvo